Four steps take you from a fresh install to a response: create a collection, create a request inside it, type a URL, press Send. Requests in Tetiva always belong to a collection, so that is where you start; everything after that looks like any other API client. The walkthrough below uses HTTP — the other protocols differ only in the request editor.
1. Create a collection#
The sidebar header holds two buttons: import (Import File… and Import from Link…) and + (New Collection). Press +, type a name, confirm. An empty sidebar says the same thing: "No collections yet. Click + to create one".
Collections nest, and each one carries its own description, auth and scripts — see Collections.
2. Create a request#
Right-click the collection (or hover it and click …) and pick New Request. In the dialog choose the protocol — HTTP, gRPC, GraphQL or WebSocket — type a name, then press Create or Enter.
The request opens as a tab straight away. Cmd/Ctrl+[ and Cmd/Ctrl+] cycle tabs, and Cmd/Ctrl+1…9 jumps to a tab by position.
3. Send it#
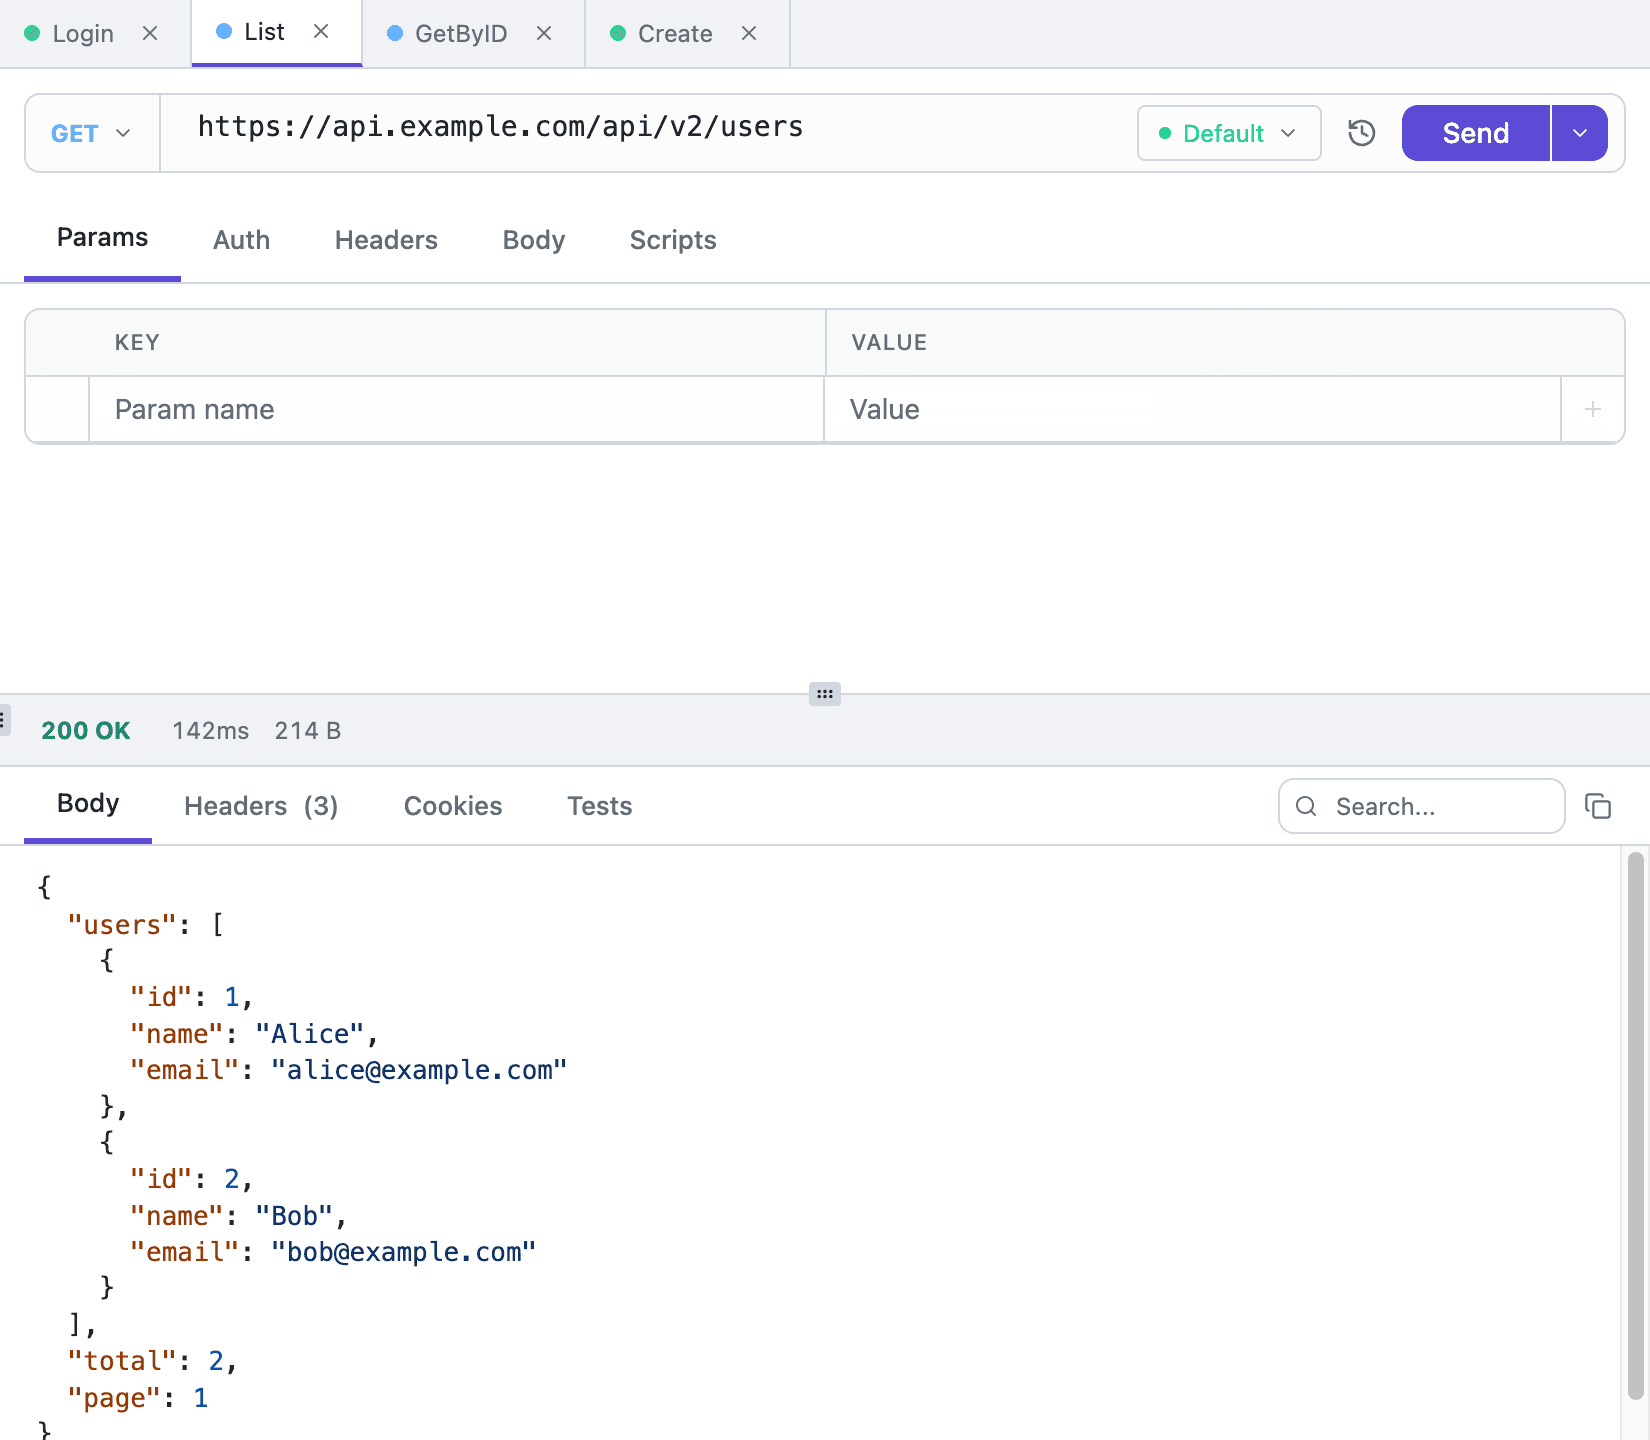
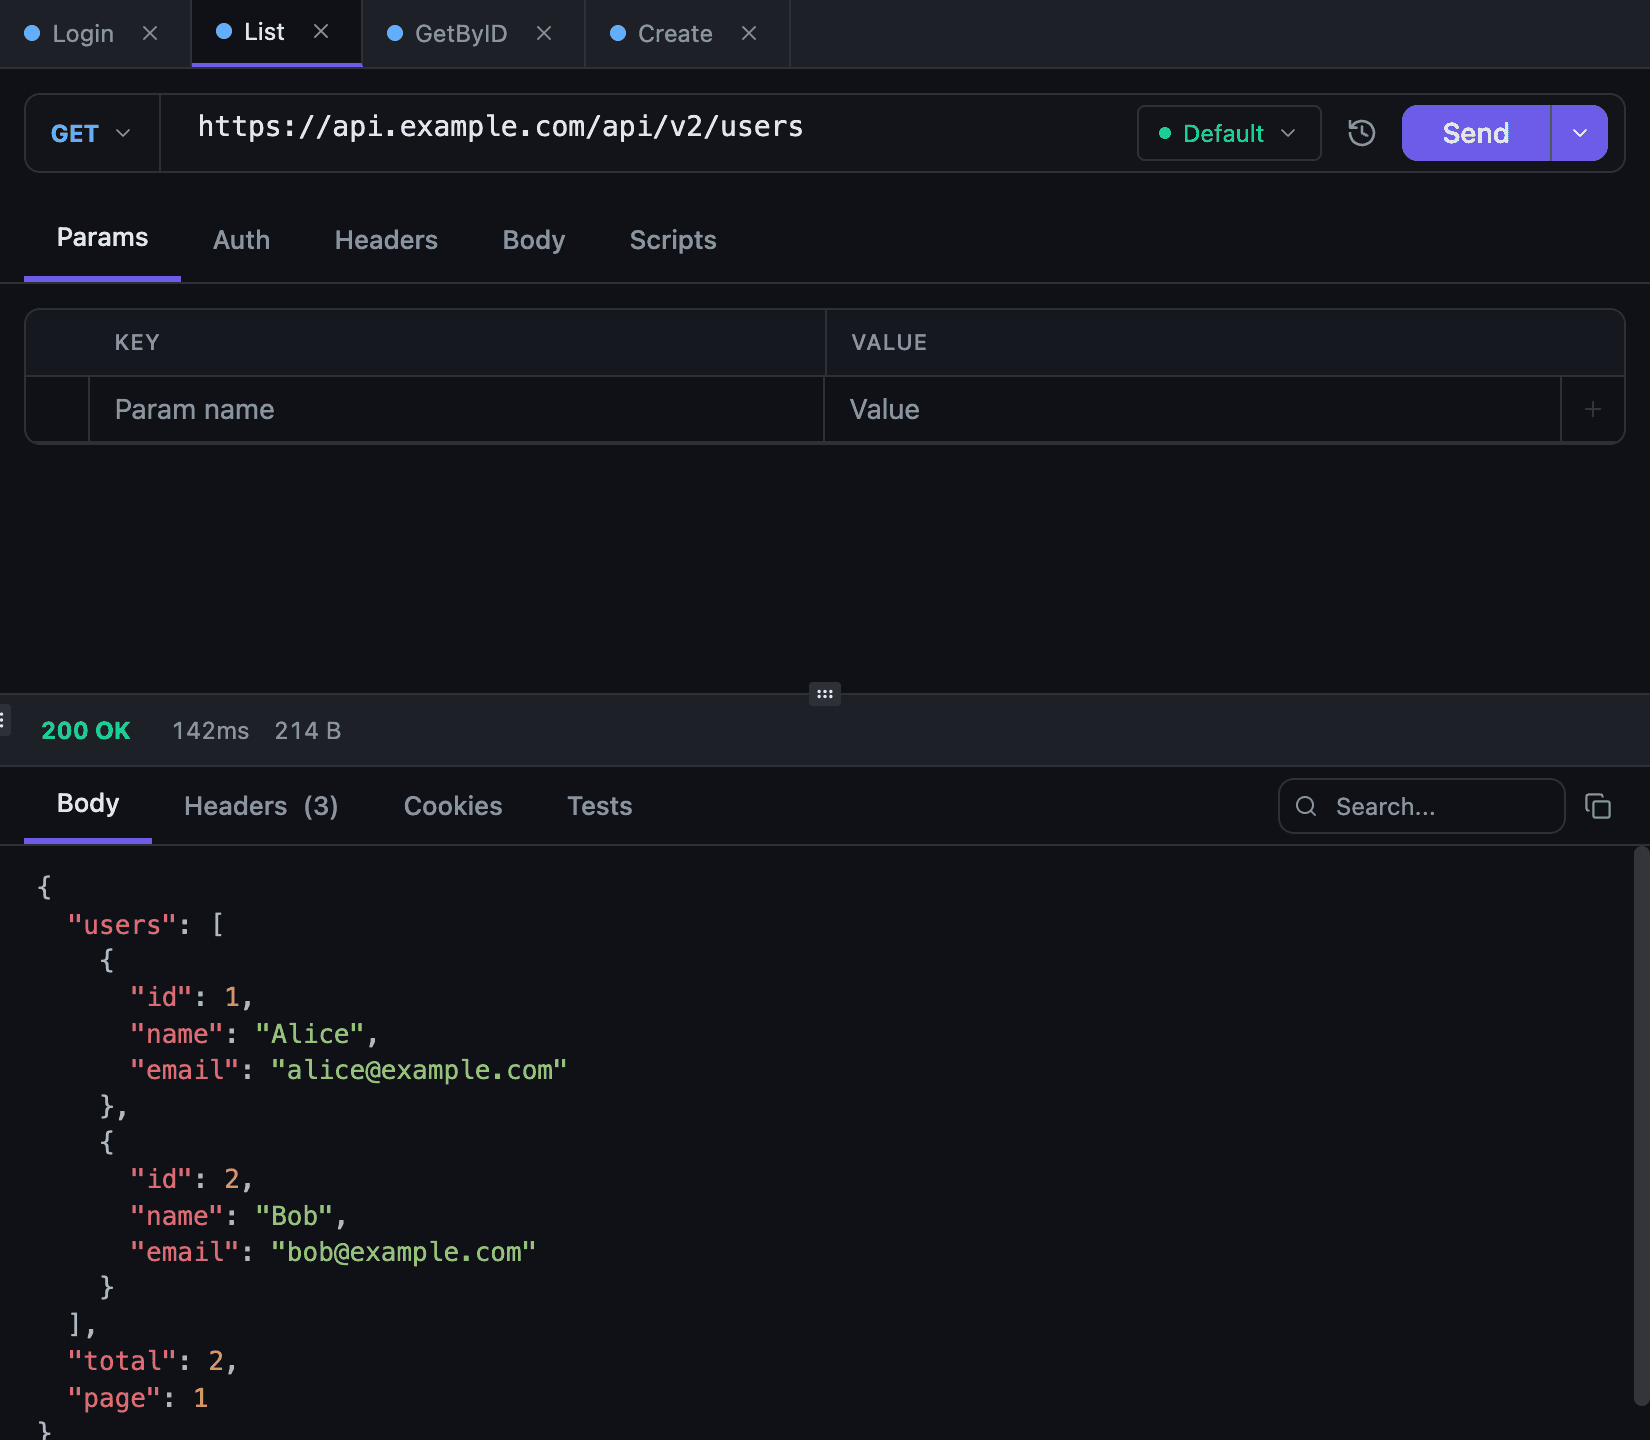
The request bar starts with the method (GET, POST, PUT, PATCH, DELETE, OPTIONS, HEAD), then the URL field, then the environment selector, the per-request history button and Send.
Type an address — say https://api.github.com/repos/tetiva-app/client — and press Send or Cmd/Ctrl+Enter. The same shortcut fires requests in the gRPC and GraphQL editors; WebSocket has its own Connect and Send buttons.
Below the URL bar sit the request tabs: Params, Auth, Headers, Body, Scripts, Docs. Their badges summarise what the request already carries — how many query params and headers it has, which auth and body type it uses, whether scripts are attached, and a dot on Docs means the request has a description — so you rarely need to open a tab just to remember.
4. Read the response#
The response pane opens on the right. Its header shows the status code, the duration in milliseconds and the body size. Four tabs follow:
- Body — the response with syntax highlighting and a search box;
- Headers — response headers, counted in the tab label;
- Cookies — what the server put into the cookie jar;
- Tests — pass/fail results from your post-response script.
Binary responses (PDFs, archives, xlsx) are not rendered as text — the client offers to save the file instead. Details in Response viewer.
5. Save the request#
Edits stay in the open tab until you save them with Cmd/Ctrl+S. Send works on an unsaved draft too, so "try first, save when it works" is a valid order.
Where to go next#
- HTTP requests — params, headers, cookies.
- Environments and variables — move the host and the token into
{{base_url}}and{{token}}instead of retyping them. - Authentication — Bearer, Basic, API Key, OAuth 2.0, JWT, Digest, AWS Signature, and inheriting auth from a collection.
- Scripting — pre-request, post-response and tests.
- Keyboard shortcuts — the full list.